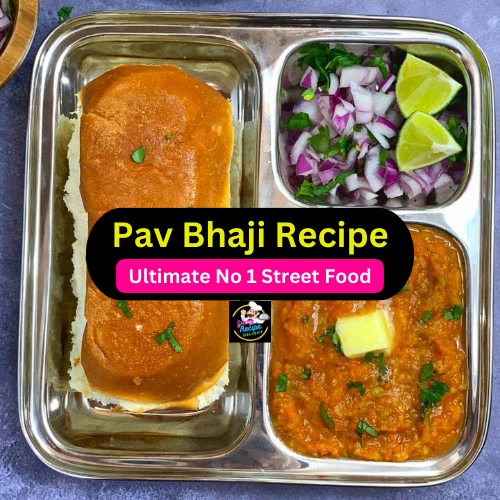
Are you ready to embark on a delightful culinary adventure? Today, we are diving into the heart of Indian street food with the beloved Pav Bhaji Recipe. This iconic dish, originating from the bustling streets of Mumbai, has won hearts all over the world. Join me as we explore the secrets behind creating the perfect pav bhaji, bringing the authentic flavours of India right into your kitchen.

Introduction to Pav Bhaji Recipe
Let’s start with the basics. Pav Bhaji recipe is a beloved Indian street food that combines a medley of vegetables, mashed and cooked to perfection, served with soft buttery buns known as pav. This dish is not just a meal; it’s an experience. The amalgamation of various spices and textures makes it a favourite among food enthusiasts.
The Origin Story of Pav Bhaji Recipe
The roots of pav bhaji can be traced back to the bustling streets of Mumbai. Initially created as a quick lunch option for textile mill workers, it soon found its way into the hearts of people across India. Today, it’s a staple at parties, picnics, and every food lover’s kitchen.
Ingredients You’ll Need
Creating the perfect pav bhaji requires the right ingredients. You’ll need potatoes, tomatoes, peas, onions, capsicum, and a blend of aromatic spices. Don’t forget the pav, generously buttered and toasted to golden perfection.
Preparing the Bhaji
A Flavourful Mix To start, boil the vegetables until they’re tender. In a pan, sauté onions and tomatoes until they form a luscious base. Add the boiled veggies and a special pav bhaji masala, letting it simmer until the flavors meld together into a mouthwatering bhaji.
Preparing The Bhaji in Pav Bhaji Recipe Step-By-Step
Creating the perfect bhaji, the flavourful base of pav bhaji, is an art that involves a blend of vegetables and spices. Here’s how you can prepare the bhaji to perfection:
- Boiling the Vegetables: Begin by boiling a mix of potatoes, peas, and cauliflower until they are tender yet not mushy. Boiling the vegetables right is crucial; they should be soft enough to mash easily but still have some texture.
- Sautéing the Base: In a large pan, heat some butter or oil. Add finely chopped onions and sauté them until they turn golden brown. Then, add tomatoes and cook until they are soft and pulpy. This forms the flavourful base of your bhaji.
- Adding the Spices: Now, add the magic touch – pav bhaji masala. This spice blend is the heart of your dish. Adjust the quantity based on your spice preference. Along with pav bhaji masala, add a bit of red chili powder, turmeric, and cumin powder for an extra kick.
- Mashing and Blending: Once the base is aromatic and spices are well incorporated, add the boiled vegetables. Using a masher or a ladle, mash the vegetables directly in the pan. For a creamier texture, you can blend the mixture with a hand blender. Keep mashing until the bhaji reaches your desired consistency. Some people prefer it a bit chunky, while others like it smooth.
- Simmering to Perfection: Let the mashed bhaji simmer on low heat for a while. This allows all the flavors to meld together. If the bhaji seems too thick, you can add a bit of vegetable stock or water to reach the desired consistency. Be careful not to make it too runny; it should have a thick, luscious texture.
- Seasoning and Final Touch: Taste your bhaji and adjust the seasoning. Add salt, a squeeze of lemon juice, and a dollop of butter. The butter not only adds richness but also gives a glossy finish to the bhaji.
- Your pav bhaji bhaji is now ready to be served with freshly toasted pav. The aroma wafting from your kitchen will surely gather your family around the dining table in anticipation of a delightful meal. Enjoy your cooking!
200 Healthy Smoothie Recipes for Weight Loss, Heart Health, Improved Mood, and More

The Art of Making Pav Soft and Buttery
Making pav is an art. Soft, fluffy buns are achieved by combining flour, yeast, milk, and a pinch of salt. After letting the dough rise, shape it into buns and bake until they’re golden brown. Just before serving, a generous smear of butter and a light toasting elevate the pav to perfection.
Creating soft, buttery pav at home is easier than you might think.
Here’s a step-by-step guide to help you bake delicious pav that perfectly complements your pav bhaji:
Ingredients Using in Pav Bhaji Recipe:
- 4 cups all-purpose flour
- 1 tablespoon active dry yeast
- 1 tablespoon sugar
- 1 teaspoon salt
- 1 cup warm milk
- 4 tablespoons unsalted butter,
- melted Extra butter for brushing
| Image | Product | Features | Price |
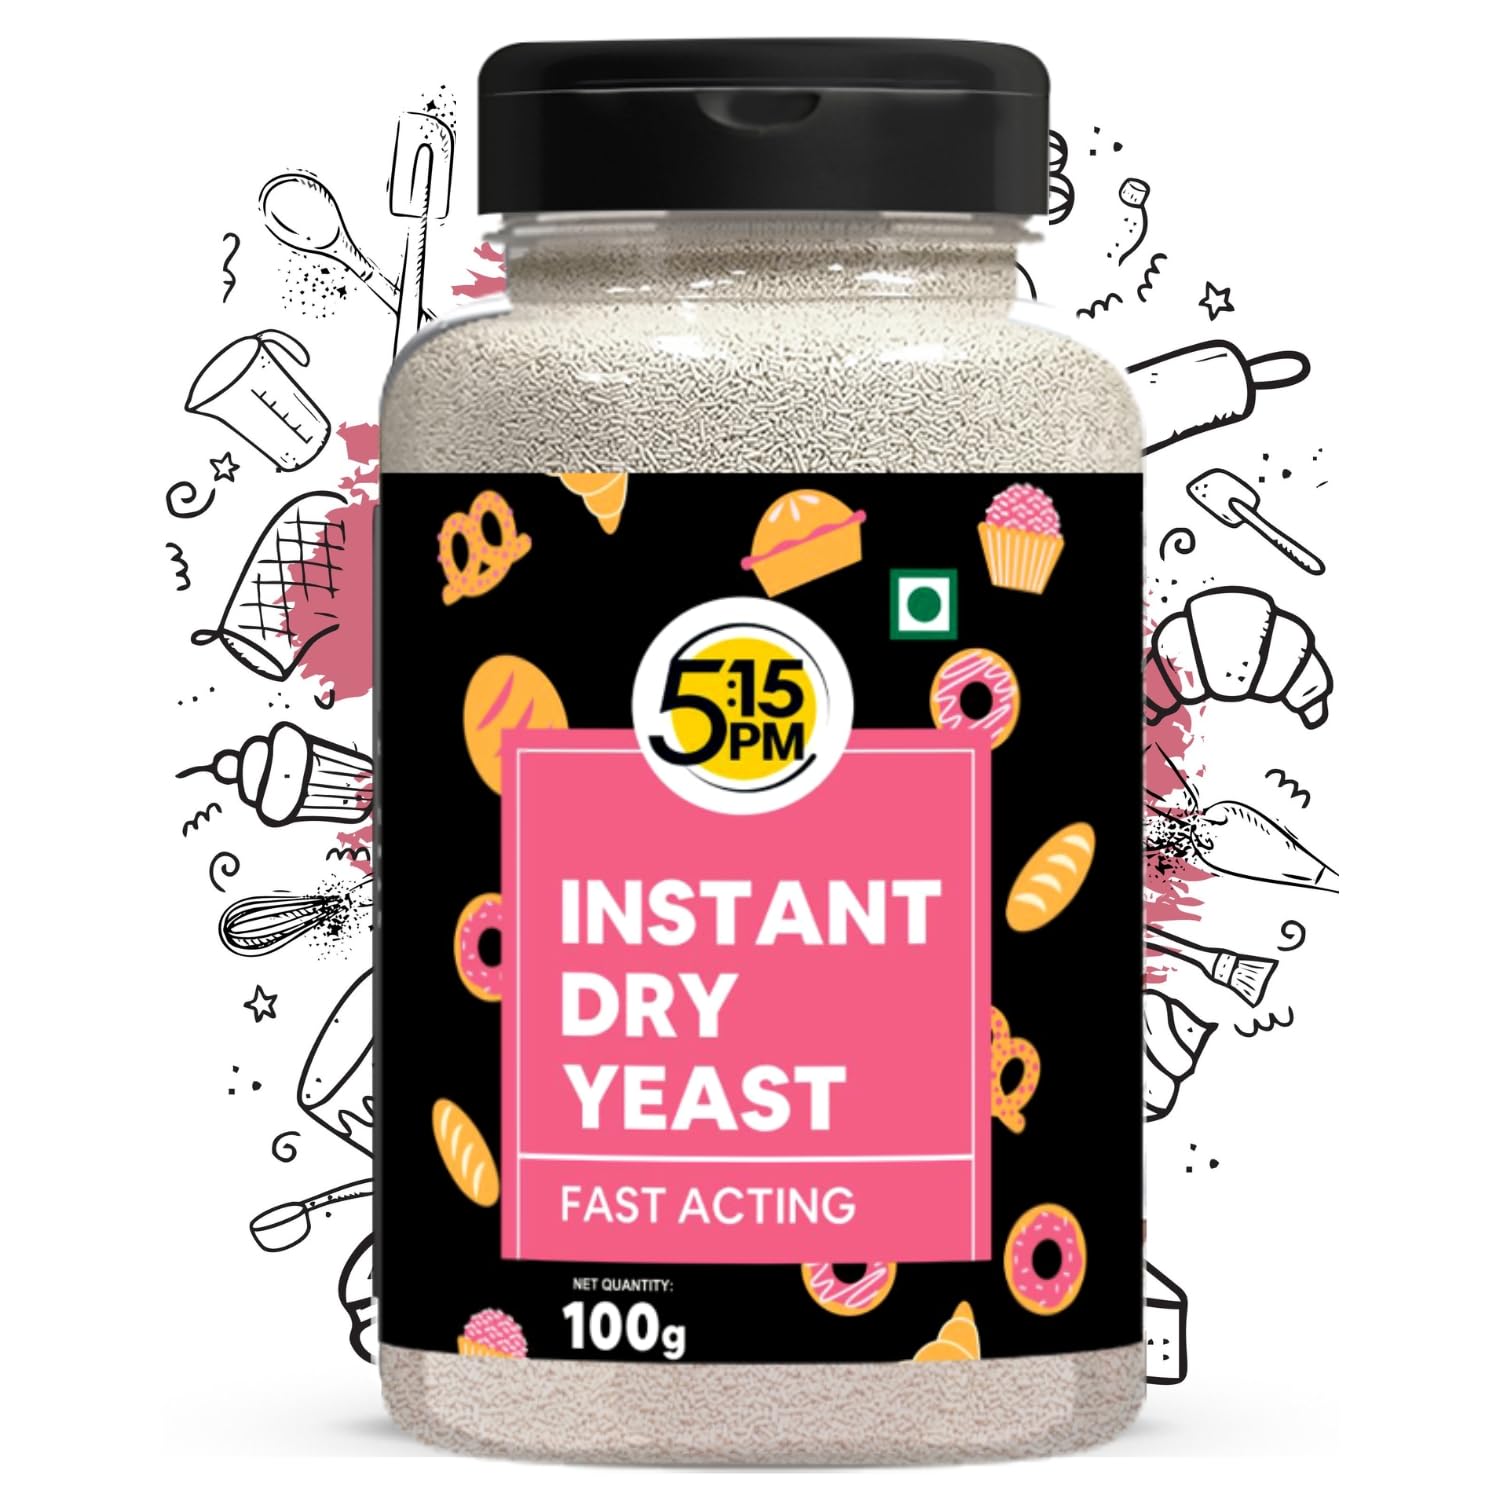
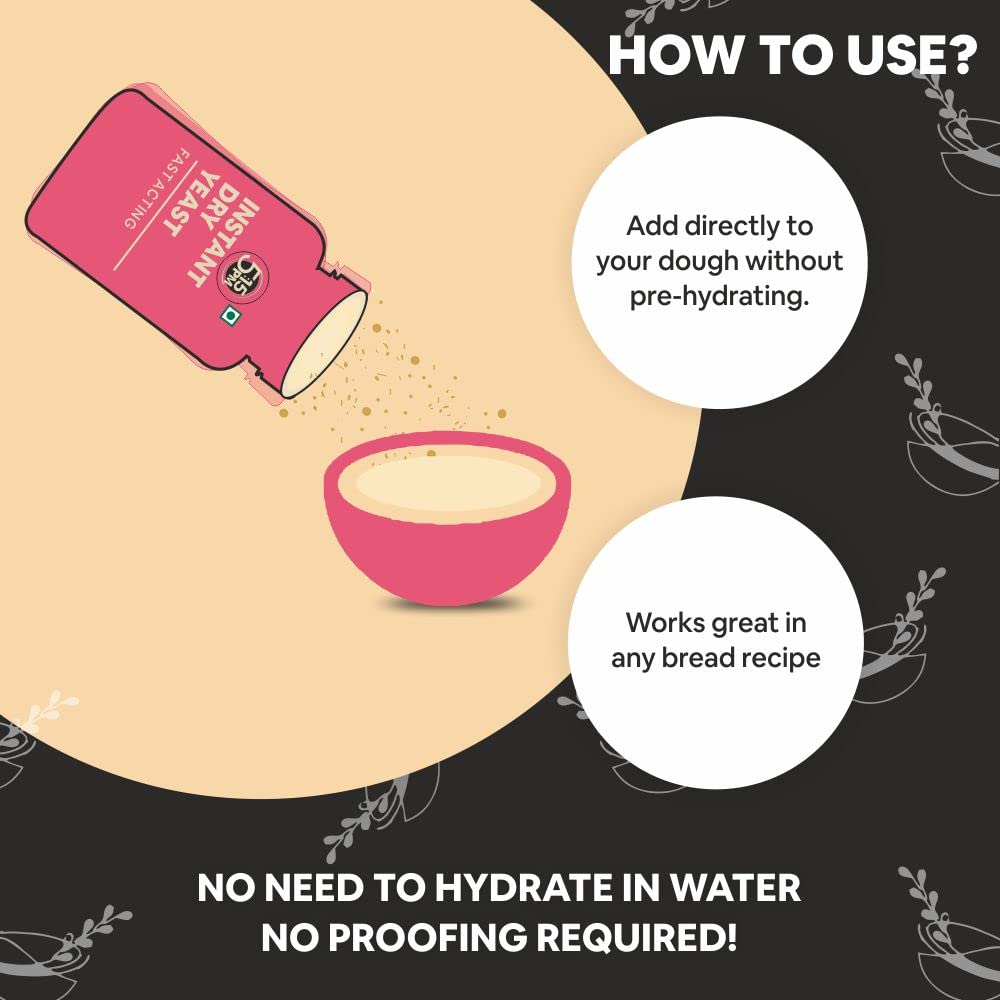
Our Pick1  | Active Dry Yeast for Bread making and Pizza | Instant Dry Yeast, enjoy baking your favourite breads, doughs, pizzas, and cakes, in just half the time! With finest granules, our Active Dry yeast powder for baking will easily mix right into the ingredients and deliver as the perfect leavening agent. | |
2  | Unsalted White Butter | The Good Cow Co – Pure A2+ Unsalted White Butter – 100% Natural – Tasty & Delicious |
Instructions : Steps Of Pav Bhaji Recipe
Activate the Yeast:
In a small bowl, combine warm milk, sugar, and yeast. Let it sit for 5-10 minutes until it becomes frothy. This indicates that the yeast is active and ready to use.

Prepare the Dough:
In a large mixing bowl, combine the flour and salt. Make a well in the centre and pour in the yeast mixture and melted butter. Mix until it forms a sticky dough.
Knead the Dough:
Transfer the dough to a floured surface and knead it for about 10 minutes until it becomes smooth and elastic. You can also use a stand mixer with a dough hook attachment for this step.

First Rise:
Place the dough in a greased bowl, cover it with a clean kitchen towel, and let it rise in a warm, draft-free place for 1-2 hours, or until it doubles in size.
Shape the Pav:
After the dough has risen, punch it down to release the air. Divide it into equal-sized portions and shape them into round balls. Place the balls on a greased baking tray, leaving some space between them.
Second Rise:
Cover the shaped pav dough with a clean kitchen towel and let it rise for another 30-45 minutes. Meanwhile, preheat your oven to 375°F (190°C).
Bake the Pav:
Once the pav balls have risen, bake them in the preheated oven for 20-25 minutes or until they turn golden brown on top. The pav should sound hollow when tapped on the bottom, indicating they are fully baked.
Butter Brushing:
As soon as you take the pav out of the oven, brush the tops with melted butter. This step adds a delightful flavor and keeps the pav moist.
Cooling:
Allow the pav to cool on a wire rack for a few minutes before serving. Freshly baked pav is best enjoyed warm and can be served with your flavourful pav bhaji.
Now you have freshly baked pav ready to be served with your homemade pav bhaji recipe. Enjoy your culinary creation!
Try to here :Home Made Egg Gravy Mouth-Watering only in 10 Minutes
Garnishes Galore: Adding the Finishing Touch
The beauty of pav bhaji lies in its garnishes. Chopped onions, coriander, a squeeze of lemon, and a dollop of butter are essential finishing touches. These elements add freshness, tanginess, and richness, enhancing the overall flavor profile.
Serving Suggestions
Pav bhaji is versatile. While it’s delightful on its own, it pairs exceptionally well with pickles, onions, and a side of cool yogurt. For a complete experience, serve it with a refreshing lassi or a sweet masala chai.
Tips and Tricks for Perfection
- Use fresh vegetables: The quality of your ingredients reflects in the final dish.
- Control the spice: Adjust the spice levels according to your preference.
- Butter is key: Don’t shy away from butter; it’s what gives pav bhaji its rich taste.
Some Tips or Variations For Making The Pav Bhaji Recipe
More Unique or Flavourful
For unique tips and variations can add an exciting twist to your culinary experience. Here are some creative ideas to make your pav bhaji more unique and flavourful:
Add Roasted Vegetables:
Roasting some of the vegetables like bell peppers and tomatoes before adding them to the bhaji can impart a smoky flavor, enhancing the overall taste.
Experiment with Spices:
Apart from the traditional pav bhaji masala, consider adding a pinch of unconventional spices like roasted cumin powder, kasuri methi (dried fenugreek leaves), or even a hint of cinnamon for a unique aroma.
Include Root Vegetables:
Introduce root vegetables like sweet potatoes or carrots to the mix. They not only enhance the nutritional value but also add a subtle sweetness to the bhaji.
Spicy Garlic Butter:
Infuse your butter with minced garlic and a bit of red chili powder. Spread this spicy garlic butter on the pav before toasting. It will add a zesty kick to every bite.
Cheese Pav Bhaji:
For a decadent twist, top your pav bhaji with a layer of grated cheese. Let it melt under the broiler for a gooey, cheesy pav bhaji experience.
Herb Infusion:
Add freshness by incorporating chopped fresh herbs like cilantro, mint, or parsley just before serving. The burst of green not only looks appealing but also adds a refreshing note to the dish.
Fusion Flavors:
Experiment with fusion flavors by incorporating ingredients from different cuisines. For example, a touch of Thai red curry paste can introduce an exciting spicy and aromatic element to your pav bhaji.
Nutty Twist:
Garnish your pav bhaji with a handful of roasted nuts such as cashews or almonds. Their crunchiness will provide a delightful contrast to the soft texture of the bhaji.
Citrus Zest:
Finish off your pav bhaji with a sprinkle of citrus zest, like lemon or orange. The zest adds a burst of freshness and brightens up the flavors.
Customize Spice Levels:
Cater the spice levels according to your preference. If you like it hot, don’t shy away from adding extra green chilies or a bit more red chili powder. For a milder version, adjust the spices accordingly.
By incorporating these tips and variations, you can create a pav bhaji that not only respects the traditional flavors but also surprises your taste buds with innovative and exciting twists.
Enjoy experimenting and savouring the unique flavors of your personalized pav bhaji!
In conclusion:
Crafting the perfect Pav Bhaji recipe is not just about combining ingredients; it’s a journey through the vibrant streets of Mumbai, capturing the essence of its flavors and the warmth of its culture.
We began with an introduction to the origins of this beloved street food, delved into the art of preparing the bhaji – a flavourful mix of boiled vegetables, spices, and love.
We explored creative variations, from roasted vegetables to spicy garlic butter, offering you the chance to personalize this classic dish.
The experience of making Pav Bhaji isn’t just culinary; it’s a sensory adventure.
The sizzle of spices, the aroma of fresh pav, and the sight of vibrant colours coming together in your kitchen – it’s a celebration of taste and togetherness.
Don’t just read about it, experience the magic of Pav Bhaji Recipe. Start cooking, and let your taste buds dance to the symphony of flavors. Your flavourful journey awaits – happy cooking! 🍽️
2 thoughts on “Pav Bhaji Recipe: Ultimate No 1 Street Food”